Rendering Dynamic Blocks Using Nuxt
Having used Directus as a Headless CMS to create individual blocks that can be re-used on different pages, let's integrate them into your Nuxt website.
Before You Start
You will need:
- A Directus project with the collections defined in our Create Reusable Blocks with Many-to-Any Relationships tutorial.
- Your public policy should have read permission on the
pages, x, y collections. - Fundamental understanding of Nuxt concepts.
Set Up Your Directus Project
Set Permissions
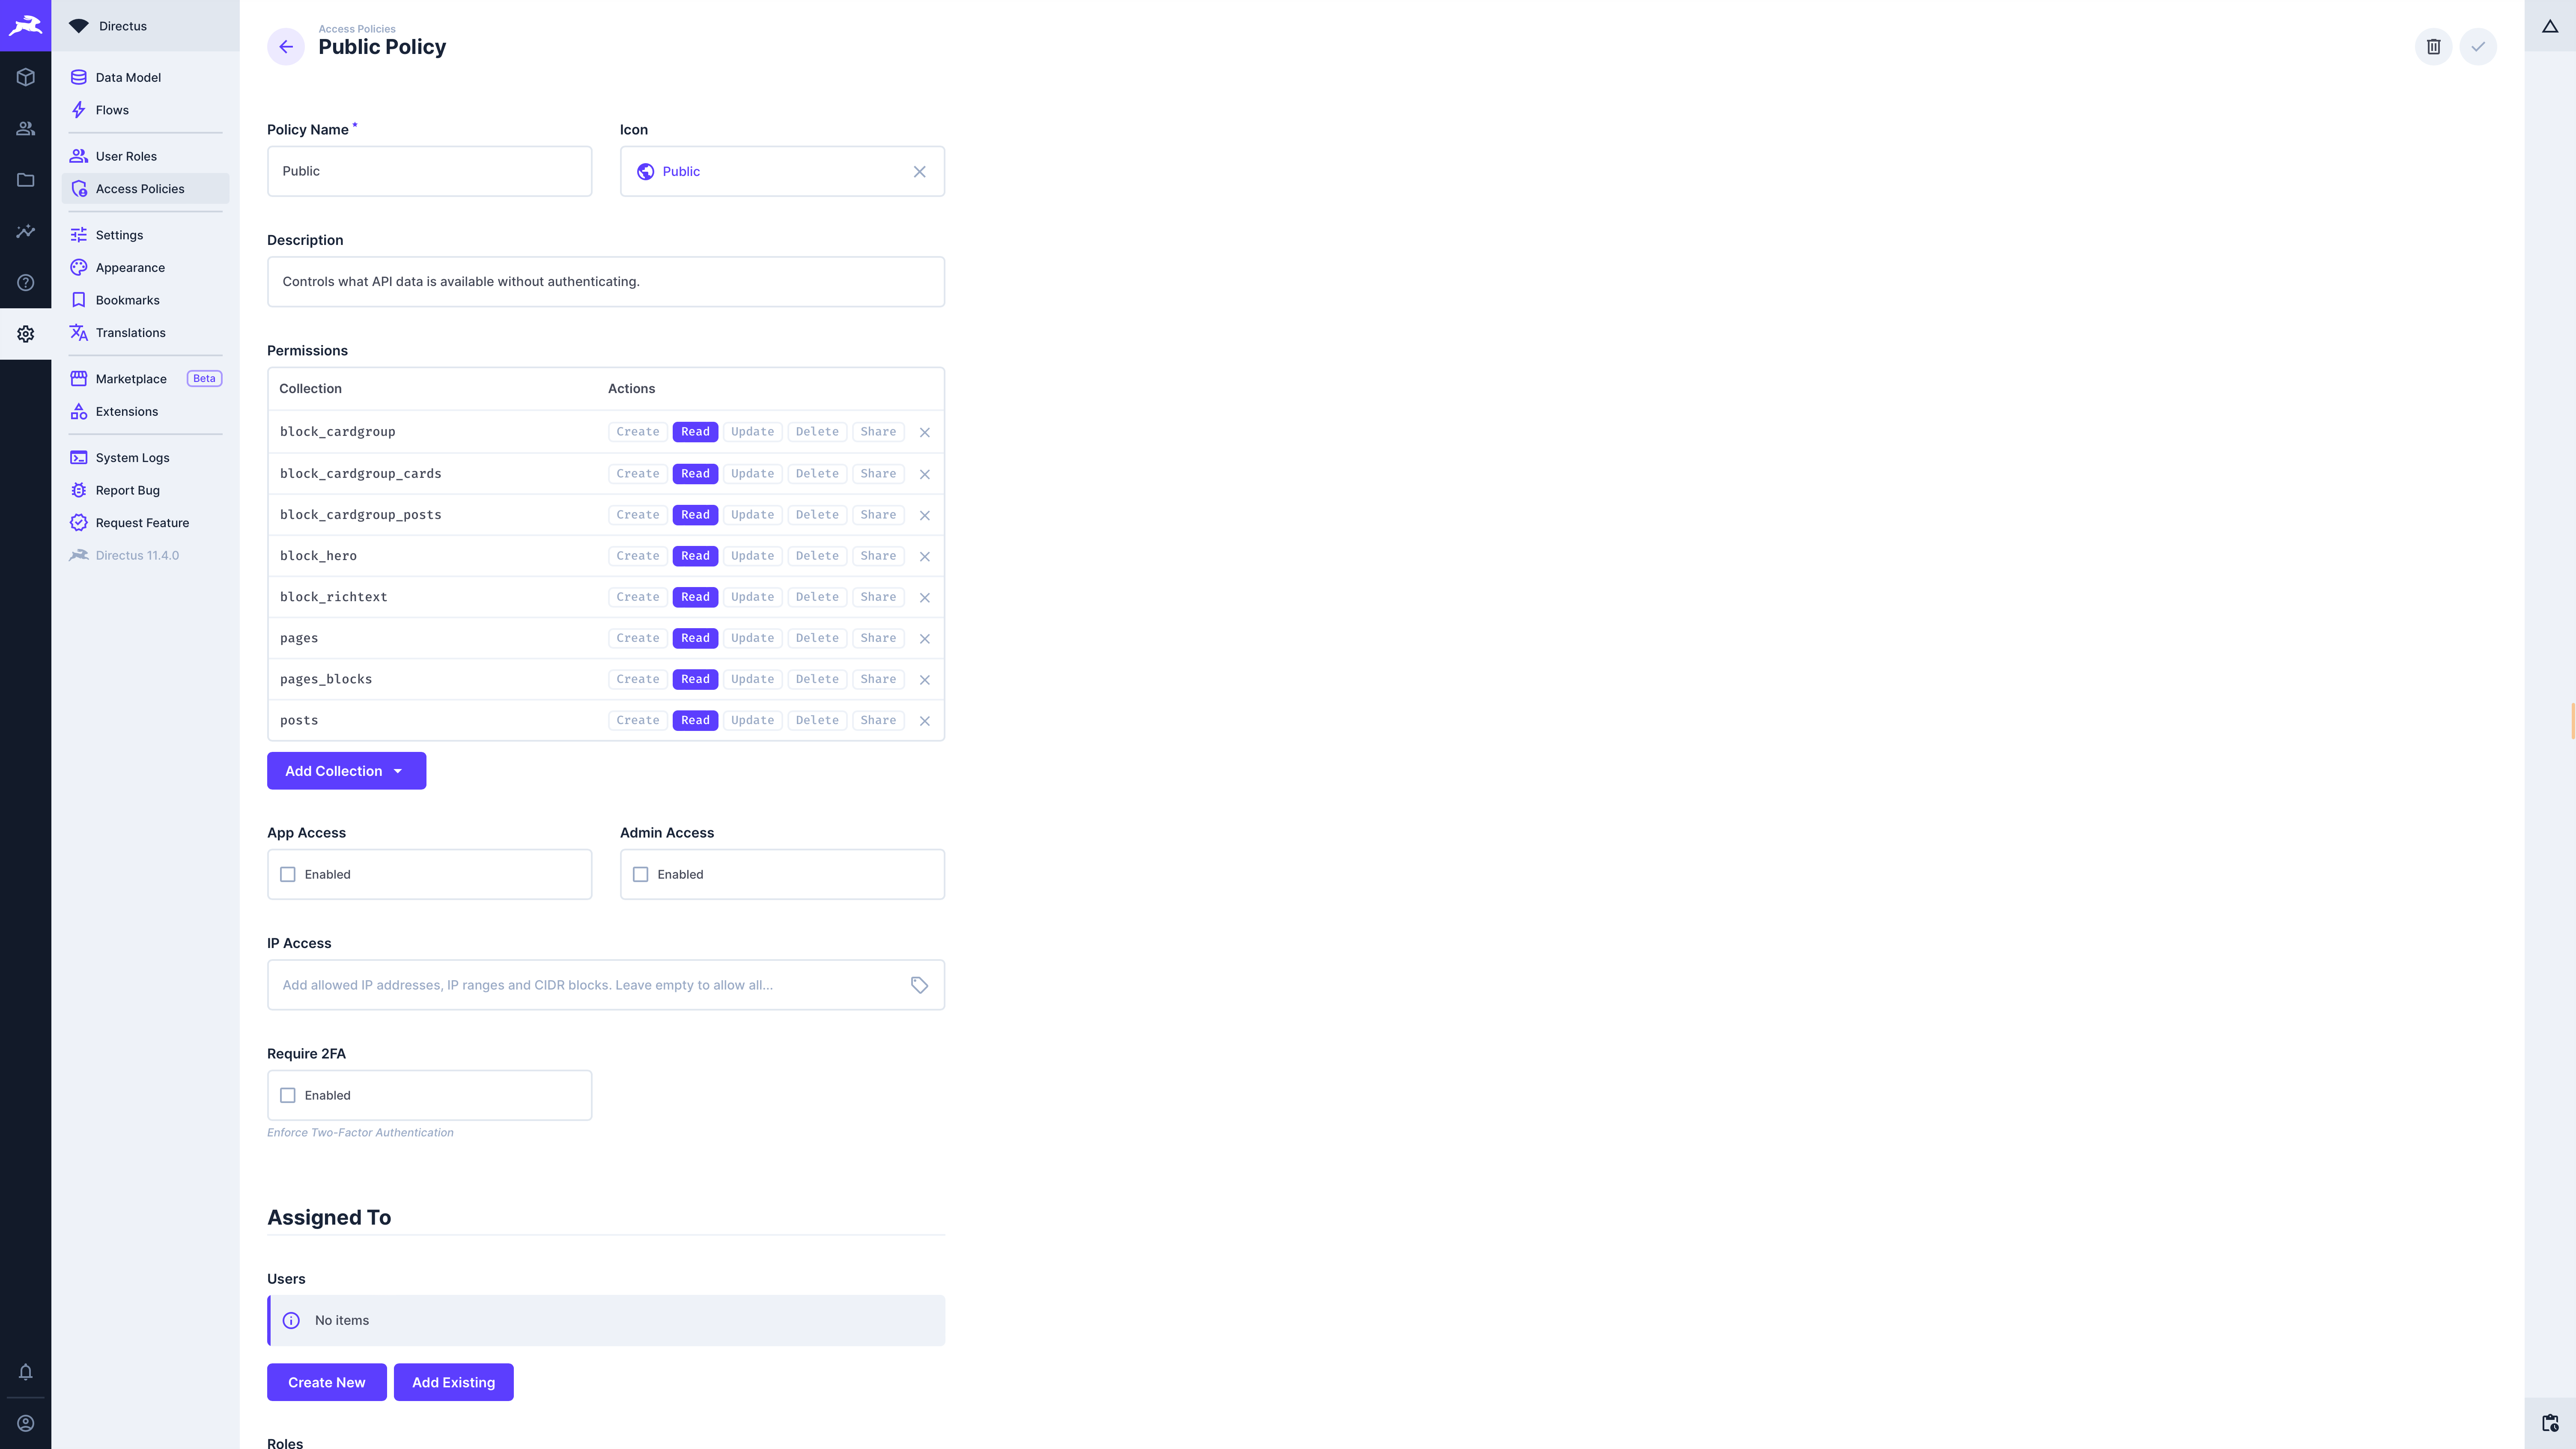
Continuing on from the Create Reusable Blocks with Many-to-Any Relationships tutorial requires that we make the created collections readable by the public. To do this go to Settings -> Access Policies -> Public and add read permissions to all the collections created in the previous tutorial.
Configure CORS
You may need set your content security policy to allow access to your Nuxt project. For example if you are self-hosting, or in development, and using Docker, then this is achieved by updating your docker-compose.yml file as follows:
environment:
  CONTENT_SECURITY_POLICY_DIRECTIVES__FRAME_SRC: your-website-url
Replace
your-website-urlwith your Nuxt URL and the port. eg. If your Nuxt URL ishttp://localhost:3000, replaceyour-website-urlwithlocalhost:3000.
Set Up Your Nuxt Project
Initialize Your Project
Create a new Nuxt project using Nuxi:
npx nuxi@latest init directus-blocks
cd directus-blocks
Inside our Nuxt project install the Directus SDK package by running:
npm install @directus/sdk
Remove <NuxtWelcome /> from app.vue and replace with <NuxtPage /> so this it looks like as follows:
<template>
  <div>
    <NuxtRouteAnnouncer />
    <NuxtPage />
  </div>
</template>
Create a pages folder in the root of your project.
Configure Nuxt
Configure Nuxt so that it is able to communicate with the (external) Directus API.
Create a .env file with the Directus URL:
API_URL="http://0.0.0.0:8055"
Add a type definition for our new environment variable by creating an env.d.ts file with the following content:
/// <reference types="vite/client" />
interface ImportMetaEnv {
    readonly API_URL: string;
}

interface ImportMeta {
    readonly env: ImportMetaEnv;
}
Depending on your project configuration and if you are in development or production you may need to configure a Nuxt proxy to allow access between your Nuxt project and Directus in your nuxt.config.ts:
routeRules: {
    "/directus/**": { proxy: `${import.meta.env.API_URL}/**` },
  },
This will allow your Nuxt project to access directus via your Nuxt URL, eg. http://localhost:3000/directus
Define a Directus Schema
Typescript needs to know what the structure of our Directus data will be. To achieve this create a directus.d.ts file in the root of our project which defines our schema:
/// <reference types="@directus/extensions/api.d.ts" />

interface DirectusSchema {
    pages: Page[];
}

interface Block {
    id: string;
    collection: string;
    item: Hero | RichText | CardGroup;
}

interface Page {
    title: string;
    slug: string;
    blocks: Block[];
}

interface Button {
    label: string;
    href: string;
    variant: string;
}

interface Card {
    id: number;
    image: string;
    content: string;
}

interface Post {
    id: number;
    title: string;
    content: string;
}

interface Hero {
    headline: string;
    content: string;
    buttons: Button[];
}

interface RichText {
    headline: string;
    content: string;
}

interface CardGroup {
    headline: string;
    content: string;
    group_type: string;
    posts: Post[];
    cards: Card[];
}

interface Card {
    image: string;
    content: string;
}
Configure the Directus SDK
Create a new plugin file in the plugins directory called directus.ts:
import {
    createDirectus,
    rest,
    readItems,
} from "@directus/sdk";
const directus = createDirectus<DirectusSchema>(
    "http://your-website-url/directus",
).with(rest());
export default defineNuxtPlugin(() => {
    return {
        provide: { directus, readItems },
    };
});
Replace
your-website-urlwith your application's url and port.
Create Frontend Components
Going by the structure of our reusable blocks, let's create a single component for each individual collection.
Hero Component
Create a new file /components/Hero.vue with the following content:
<script setup lang="ts">
defineProps<{
    id: string,
    headline: string,
    content: string,
    buttons?: Button[]
    image: string,
}>()
</script>
<template>
    <h2>{{ headline }}</h2>
    <div v-html="content"></div>
    <div v-if="buttons">
        <button v-for="button in buttons" :key="button.label" :href="button.href" class="button"
            :class="button.variant">{{ button.label }}</button>
    </div>
</template>

<style scoped>
.button {
    background-color: grey;
    color: white;
}

.button.primary {
    background-color: green;
    color: white;
}

.button.outline {
    background-color: transparent;
    border: 1px solid black;
    color: black;
}
</style>
In this code defineProps informs the component what data will be passed into it. The remainder of the code is the display template for the component. Note the use of v-html to render the content prop as HTML otherwise Nuxt would render the field as plain text.
Some basic CSS styling is included to differentiate a primary button from a standard one (you will recall out button has a variant field that can be set to primary or default or outline).
Rich Text Component
Create a new file /components/RichText.vue with the following content:
<script setup lang="ts">
defineProps<{
    id: string,
    headline: string,
    content: string
}>()
</script>
<template>
    <h2>{{ headline }}</h2>
    <div v-html="content"></div>
</template>
Card Group Component
Create a new file /components/CardGroup.vue with the following content:
<script setup lang="ts">
defineProps<{
    id: string,
    headline: string,
    content: string,
    group_type: string,
    posts: Post[],
    cards: Card[]
}>()
</script>
<template>
    <h2>{{ headline }}</h2>
    <div v-html="content"></div>
    <div v-if="group_type === 'posts'" v-for="post in posts" :key="post.id">
        <h2>{{ post.title }}</h2>
        <div v-html="post.content"></div>
    </div>
    <div v-if="group_type === 'custom'" v-for="card in cards" :key="card.id">
        <h2>{{ card.image }}</h2>
        <p>{{ card.content }}</p>
    </div>
</template>
Page Component
Create a new file /components/Page.vue and add the following:
<script setup lang="ts">
import Hero from './Hero.vue'
import RichText from './RichText.vue'
import CardGroup from './CardGroup.vue'

defineProps<{
    title: String,
    blocks: Block[]
}>()

const blockToComponent = (collectionName: string) => {
    switch (collectionName) {
        case 'block_hero':
            return Hero
        case 'block_richtext':
            return RichText
        case 'block_cardgroup':
            return CardGroup
        default:
            return 'div'
    }
}
</script>
<template>

    <Head>
        <title>{{ title }}</title>
    </Head>
    <h1>{{ title }}</h1>
    <div v-for="block in blocks" :key="block.id">
        <component :is="blockToComponent(block.collection)" v-bind="block.item"></component>
    </div>
</template>
This component is the key to displaying our blocks. The blockToComponent function maps the Directus Collection name (or block) to an actual Nuxt/Vue component which is then passed to Vue's dynamic component element with all its properties via the v-bind attribute.
Dynamically Fetch Page Data
With all the components created let's create a Nuxt page that will display the Page itself. Create a new file /pages/[slug].vue and add the following:
<script setup lang="ts">
const { $directus, $readItems } = useNuxtApp()
const route = useRoute()
const page: Ref<Page | null> = ref(null)

const { data, error } = await useAsyncData('post', async () => {
    const slugParam = Array.isArray(route.params.slug) ? route.params.slug[0] : route.params.slug
    return $directus.request($readItems('pages', {
        filter: {
            slug: { _eq: slugParam },
        },
        fields: ['title', 'slug', 'blocks.id', 'blocks.collection', 'blocks.item.*'],
        limit: 1
    }))
})

if (error.value || data.value === null || data.value.length === 0) {
    console.error(error)
    throw createError({
        statusCode: 404,
        statusMessage: "Page not found"
    })
}

page.value = data.value[0]
</script>
<template>
    <Page v-if="page" :title="page.title" :blocks="page.blocks"></Page>
    <div v-else>Loading...</div>
</template>
This page uses the Directus plugin created earlier to fetch the requested page based on the slug parameter. The Page component is used to render the page by providing it with the title and blocks properties coming from the Directus SDK response.
Now we are ready to test the application. In Directus create a page and add some blocks to it.
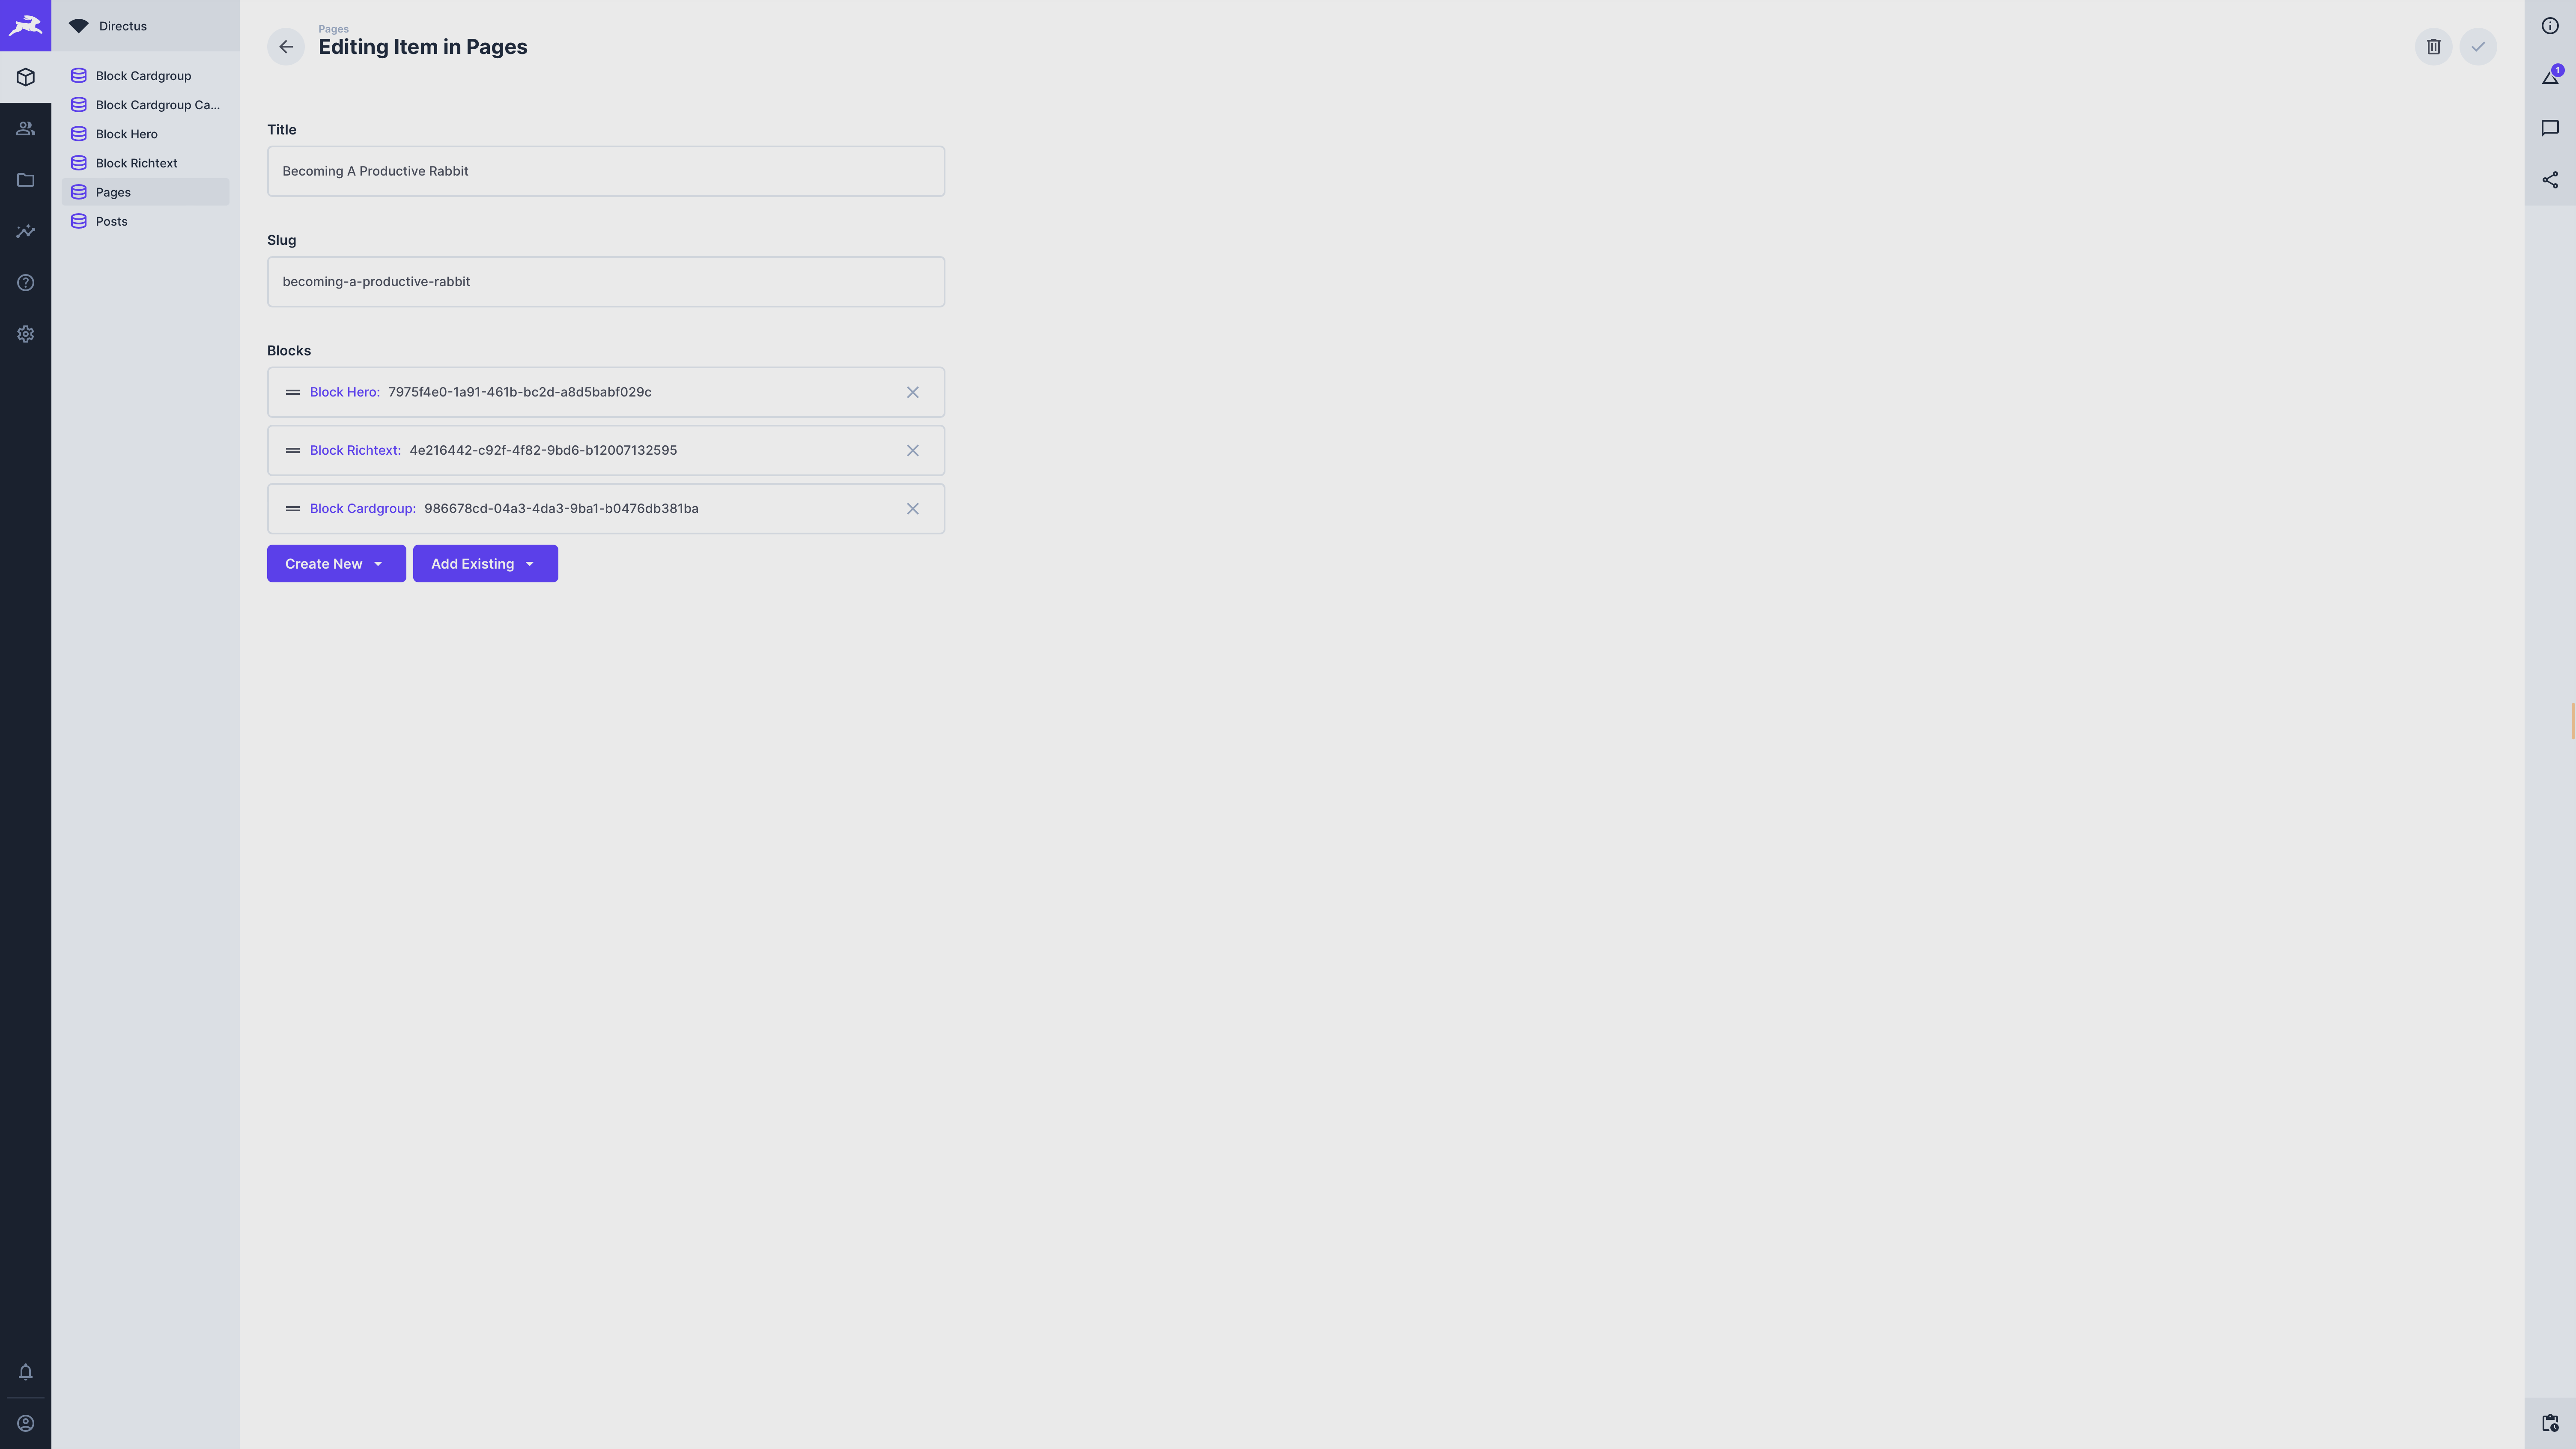
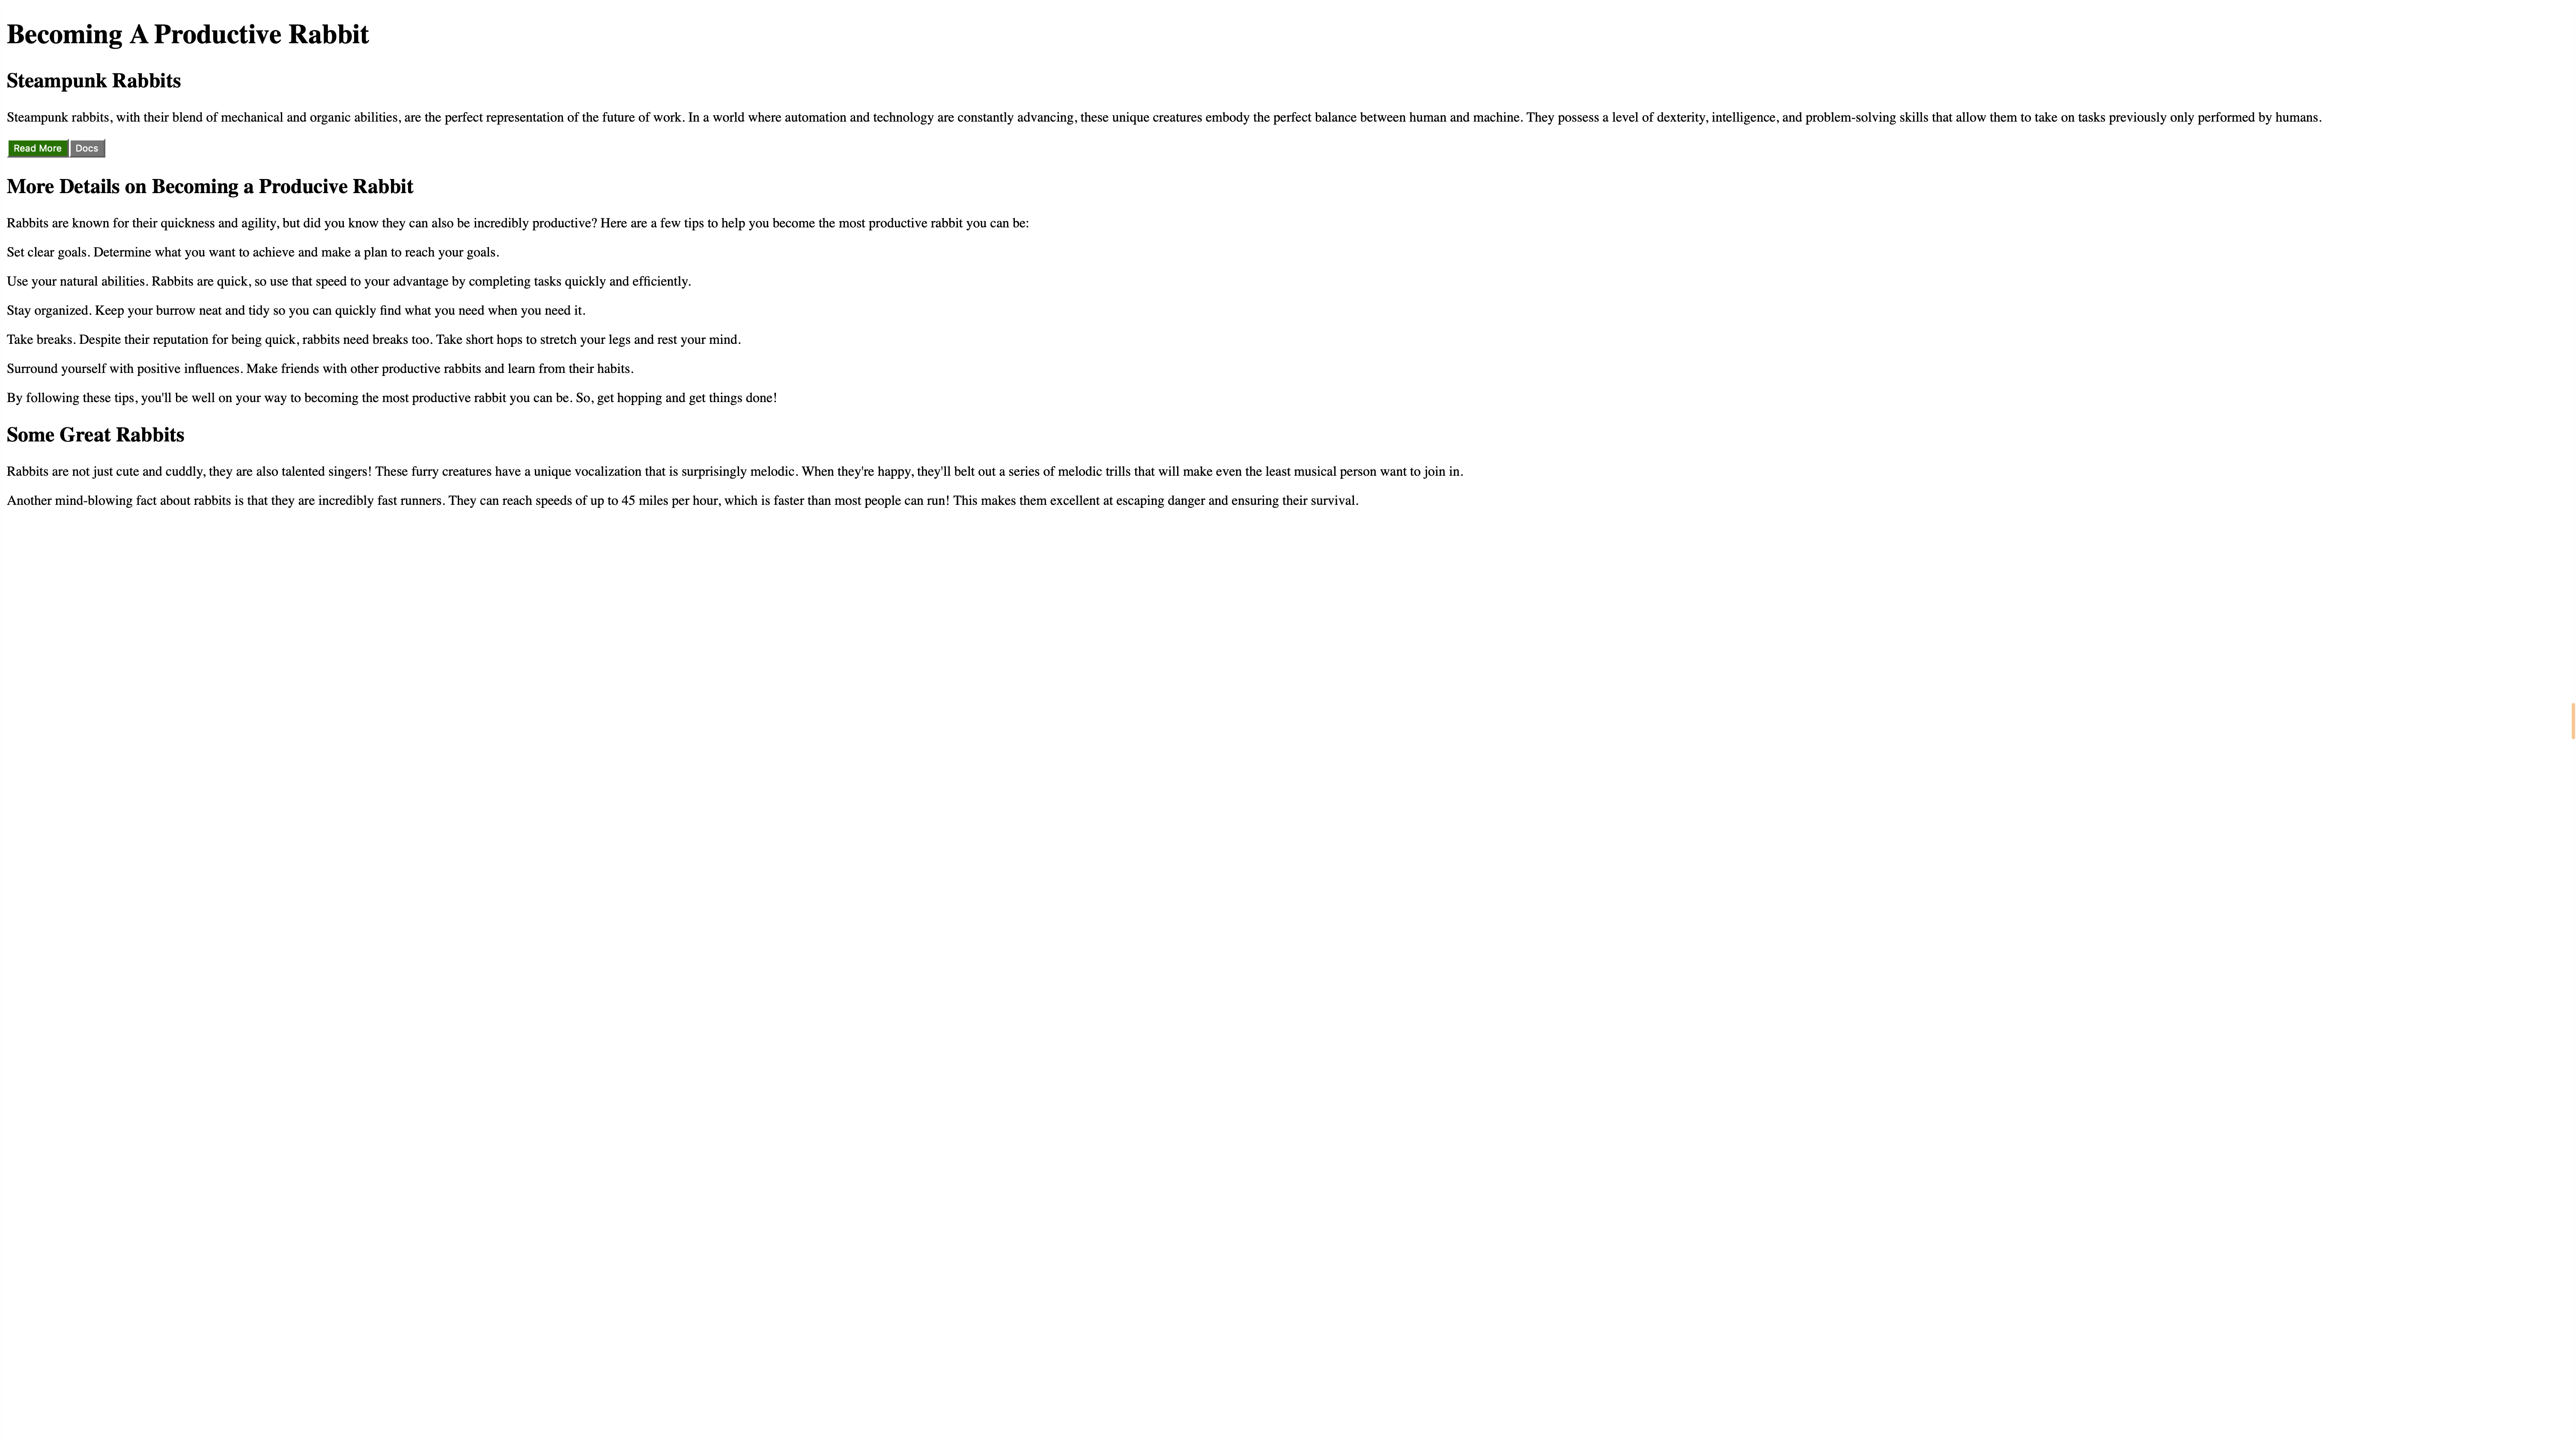
In the example above the slug used is becoming-a-productive-rabbit so we can use that to visit our page at http://your-wesite-url/becoming-a-productive-rabbit.
Summary
In this post, you learned to create a page builder in Directus and use it to display dynamic components in a Nuxt application.
The code for this tutorial is available on GitHub.